


How to change lamps in a truck?

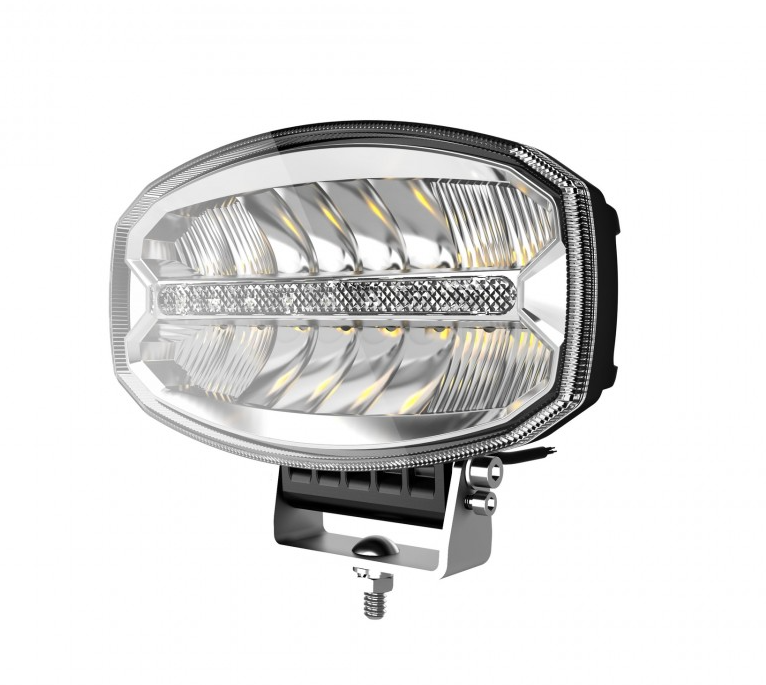
The type of bulb in the lamp
Any breakdown of the vehicle or a defect related to its proper operation requires immediate visit at a car workshop. Underestimating the problem can have serious consequences, both causing an accident and serious damage to the vehicle.
Road traffic regulations describes exactly which lights each vehicle must be equipped with. It should therefore be remembered that the lack of lamps or a failed bulb can cause a collision on the road, but also the risk of receiving an expensive fine. Unexpected lamp failure does not always require a visit a car workshop. The driver can change the bulb himself, because it is not too complicated. However, it is very important to exercise extreme caution and follow the change instructions. First of all, you must carefully check the compatibility of individual parts with the car lamp base. There is a marking on the cover that indicates the type of bulb. A human perceives the color of daylight best because it does not cause eye strain. They are usually white and yellow lamps. It is necessary to disconnect the power supply from the vehicle's electrical network to perform the change in safe conditions. Keep the inside of the lamp clean when you remove the old bulb. Of course, the new bulb should not be dirty either.
Lamps in the truck changed in pairs
It is recommended to change the lamps in pairs, even if it is not necessary to change both bulbs. Changing only one bulb may cause that you do not get an evenly-matched beam pattern and colour and it will have a negative impact on other road users, thus creating a danger on the road.
Regardless of the nature of the lighting in the vehicle, the change of a given type of lamp is not much different from the change of other lamps. During changing the lights, you need to remove the radiator grille, loosen the mounting bolts, and then remove the high beam headlights from the body. Next, you should disconnect the power connector located on the back of the headlamp. The lamp cover can be removed by turning it to the left. If this tip is not related to the given type of lamp, the cover can be gently unscrewed with a screwdriver. Then the lock holding the lamp in the reflector should be removed. The new bulb must be put in the same way as the old one. We should be especially careful with the halogen lamp and because it is very susceptible to burning if it is touched. After changing the bulb, fasten the lock holding the bulb, insert it into the lamp and turn it clockwise.
Precision and gentle mounting of new lamps
When replacing the dipped beam headlamp, the old headlamp must be carefully removed. Before changing the bulb, it is recommended to carefully wipe the surface of the emitter with a cloth soaked in alcohol. Before we connect the electrical connectors, we must check the condition of the contacts. After placing the lamps, we must pay attention to provide a tight seal to protect the inside against moisture.
When you change the bulbs of parking lamps and direction indicators, you must start by turning the cover with the holder of the lamp counterclockwise. The next step is to press the lamp, turn it to the left and remove it from the holder. We should place the lamp in the holder in such a way that the protrusions on the base of the lamp fit into the recesses. Then press the new lamp and turn it to the right. When you put the cover of the headlights, we must ensure that the recesses in the cover match the proper grooves in the headlight housing. The last step is to lock the lamp cover by turning it to the right.